SonarQube Configuration – Server and Client
I thought of writing this article to provide guidance to the Development team – to measure the code quality and identify non-compliant code using leading tool called SonarQube. Here I have listed out Step-by-Step approach in configuring SonarQube – Server and Client side components.
What is SonarQube?
SonarQube is an open source platform for continuous inspection of code quality to perform automatic reviews with static analysis of code to detect bugs, code smells and security vulnerabilities on 20+ programming languages including Java, C#, PHP, JavaScript, C/C++, COBOL, PL/SQL, PL/I, ABAP, VB.NET, VB6, Python, RPG, Flex, Objective-C, Swift, Web and XML.
The SonarQube community is very active and provides continuous upgrades, new plug-ins and customizations. It is a good practice to frequently run SonarQube on the source code to fix the code quality violations and reduce the technical debt.
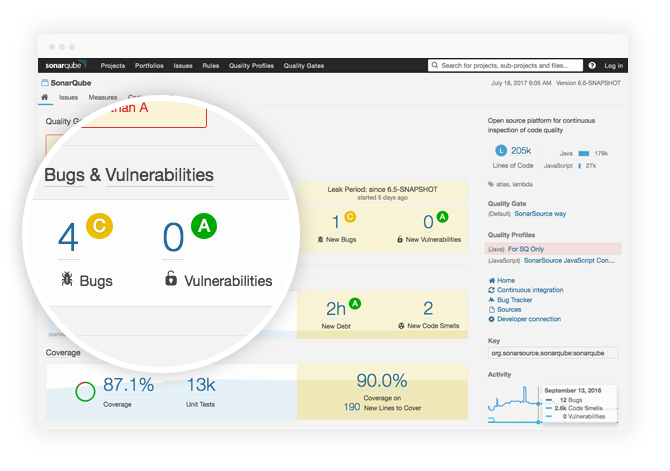
The Project home page shows where you stand in terms of quality in a glimpse of an eye. This main page also shows you an immediate sense of the good results achieved over time.
How to Configure SonarQube?
Here are a few simple steps that would help to configure SonarQube.
- Prerequisites.
- Installing the Database.
- Installing the Web Server.
- Installing Plugins in Web Server.
- SonarQube Client configuration.
- Dashboard – Code Quality Analysis.
Step 1: Prerequisites
Install the Java JDK on your local machine, which can be downloaded from Oracle’s official website.
Step 2: Installing the Database
Several database engines are supported (Microsoft SQL Server, MySQL, Oracle, PostgreSQL).
Create an empty schema and a sonarqube user. Grant this sonarqube user permissions to create, update and delete objects for this schema.
Microsoft SQL Server
Note that collation MUST be case-sensitive (CS) and accent-sensitive (AS). If you are running the SonarQube as a windows service and want to use Integrated security, please make sure the windows account under which the service is running has permission to connect your SQL Server. The account should have db_owner database role membership. Otherwise, if you are running the SonarQube server from a command prompt and want to use Integrated security, the user under which the command prompt is running should have db_owner database role membership. Ensure that sonar.jdbc.username or sonar.jdbc.password properties are commented, otherwise SonarQube will use SQL Authentication.
sonar.jdbc.url=jdbc:sqlserver://localhost;databaseName=sonar;integratedSecurity=true
If you want to use SQL Authentication, use the following connection string. Also ensure that sonar.jdbc.username and sonar.jdbc.password are set appropriately.
sonar.jdbc.url=jdbc:sqlserver://localhost;databaseName=sonar
sonar.jdbc.username=sonarqube
sonar.jdbc.password=mypassword
Step 3: Installing the Web Server
SonarQube can be downloaded by visiting their website. The current version, which is available for download is 5.6.7.
Once the download process is complete, extract the zip file to your specific drive (C or D) based on your preference. Now, open the command prompt as an administrator and run the .bat file (windows-x86-64\StartSonar.bat).
If you are using a 32 bit machine, please use the command mentioned here (windows-x86-32\StartSonar.bat).
SonarQube uses a default “9000” and the context path “/”. It can be accessed by typing the below URL on your browser (http://SonarQube-Server-Host:9000/). These values can be changed in “install_directory/conf/sonar.properties”:
sonar.web.host=192.0.0.1
sonar.web.port=80
sonar.web.context=/sonar
The URL would take you to the landing page of SonarQube, which is sort of a notification that the SonarQube server has been installed successfully.
Now try accessing SonarQube via any other system. If the SonarQube is not accessible via a particular system/machine, then ensure that port 9000 is added to the firewall’s allowed list.
Step 4: Installing Plugins in Web Server
Install the “C# Plugins Ecosystem”, following are the default credentials to log in to the SonarQube Admin:
User Name: admin
Password: admin
The plugins for various programming languages can be downloaded from SonarSource website such as for C#, JavaScript.
Manual Installation of various Plugins
- Click on the “Download” link of the version compatible with your SonarQube version.
- Upload the downloaded jar file in your SonarQube Server and put it in the directory : $SONARQUBE_HOME/extensions/plugins.
- If another version of the same plugin is already there, you need to remove it, since only one version of a given plugin may be available in the extensions/plugins directory.
- Once it is done, you will need to restart your SonarQube Server.
Step 5: SonarQube Client configuration
“SonarQube Scanner” analyzes the source code and stores these results in SonarQube’s database.
- Make sure the .NET Framework v4.5.2+ is installed
- Make sure the Java Runtime Environment 8 is installed
- Download the latest version of the SonarQube Scanner for MSBuild (using the link at the top of the page)
- Unblock the zip file (Right-click on file -> Properties -> Unblock)
- Unzip sonar-scanner-msbuild-[version].zip on to a drive. Example: C:\SonarQube\bin
- Edit C:\SonarQube\bin\SonarQube.Analysis.xml to specify the following parameters:
sonar.host.url – URL to your SonarQube server
sonar.login – Analysis token of a user with Execute Analysis permissions. Required only if Anonymous does not have them
- Restrict access to SonarQube.Analysis.xml by setting appropriate file permissions
- Add the executable’s directory to the %PATH% environment variable
How to Use?
- From the root folder of the project you want to analyze, execute the following commands:
- Follow the link provided at the end of the analysis to browse your project’s quality in the SonarQube UI.
SonarQube.Scanner.MSBuild.exe begin /k:"Project Key" /n:"Project Name" /v:"1.0"
MSBuild.exe /t:Rebuild
SonarQube.Scanner.MSBuild.exe end
Projects targeting older versions of the .NET Framework can be built using MSBuild 14.0 by setting the “TargetFrameworkVersion” MSBuild property as documented Here.
As of release 3.0, analyzing projects built with MSBuild version 12 is not supported.
Step 6: Dashboard – Code Quality Analysis
After the code analysis is completed, please enter the SonarQube URL (http://SonarQube-Server-Host:9000/) in your browser to view the results.
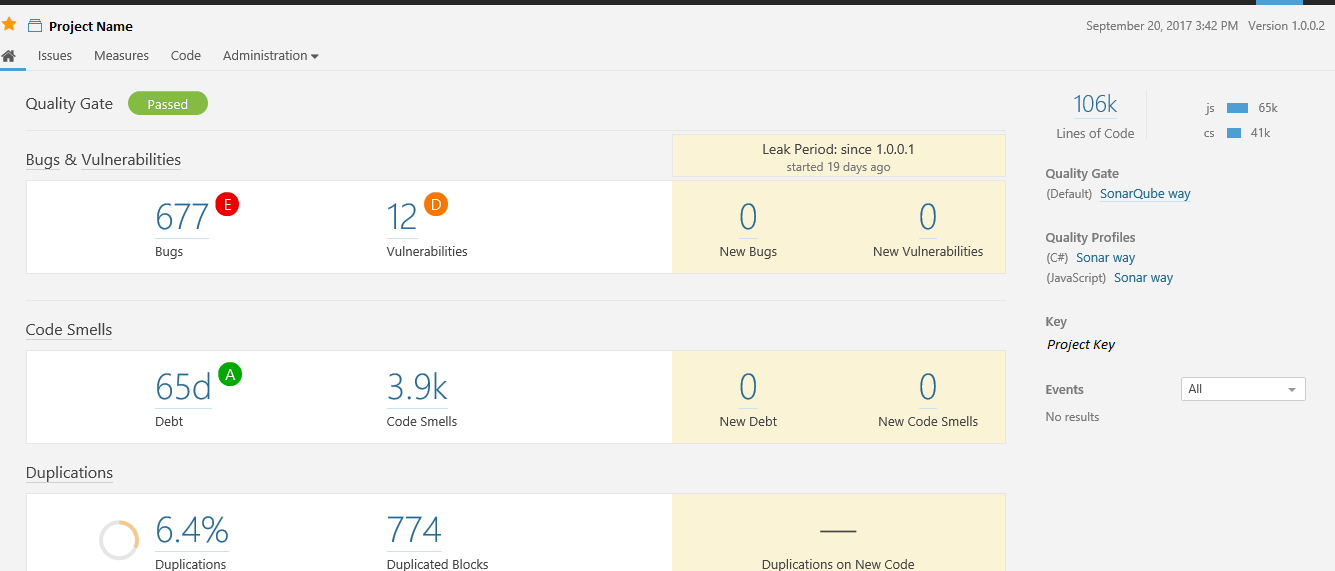
Below is the project code quality analysis report, which is shown in the default dashboard.
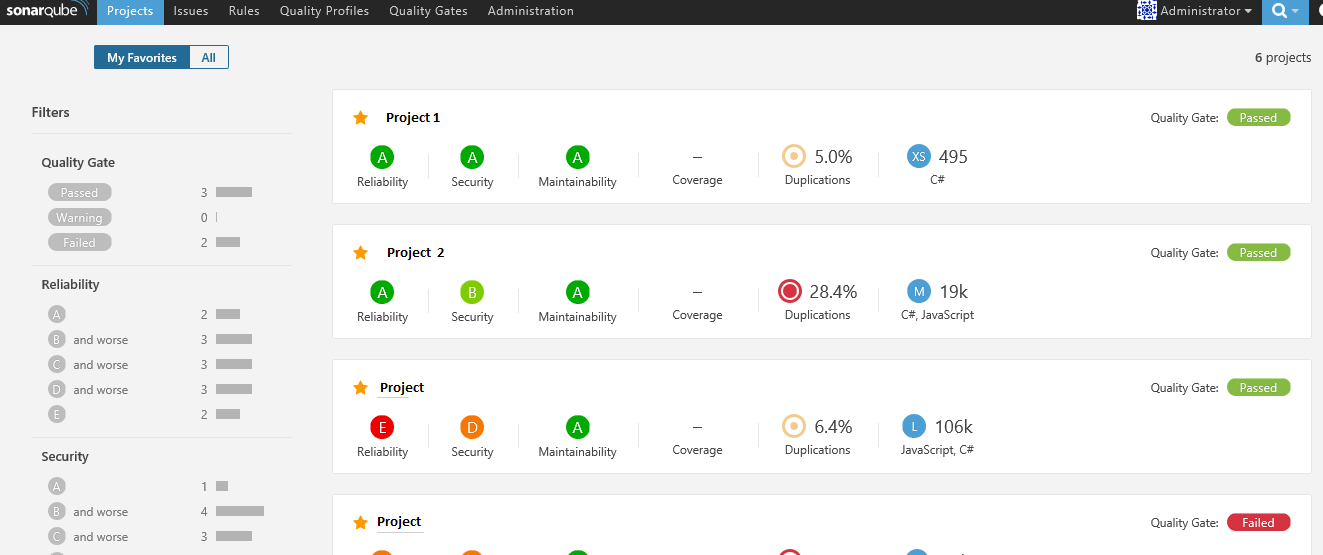
Whenever SonarQube is run, the metrics are automatically updated and stored in the SonarQube database. The code quality metrics can be compared against the previous runs.
To view the source code, click on violation metrics. To view additional details about the violation and suggestions to make the code quality compliant, you can click on the violation message in the source code.
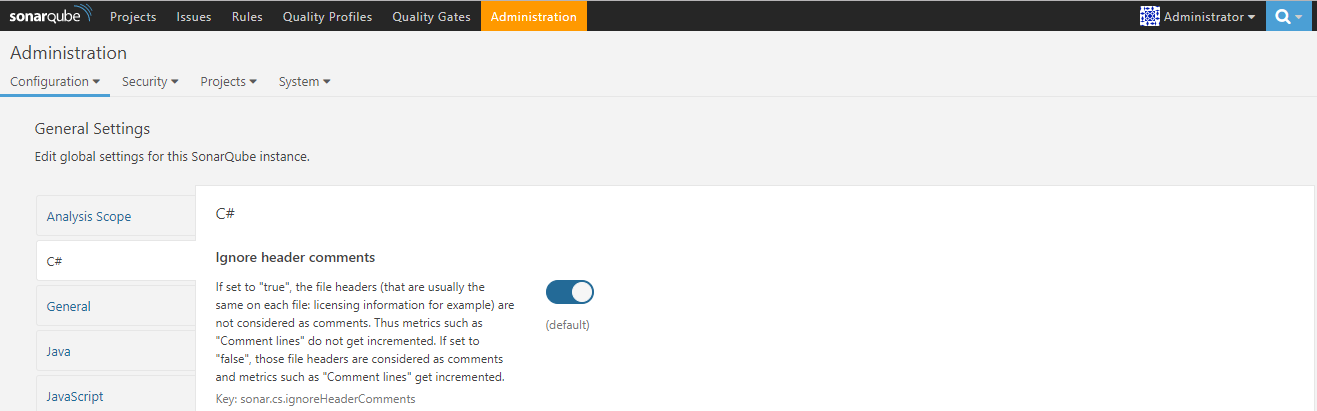
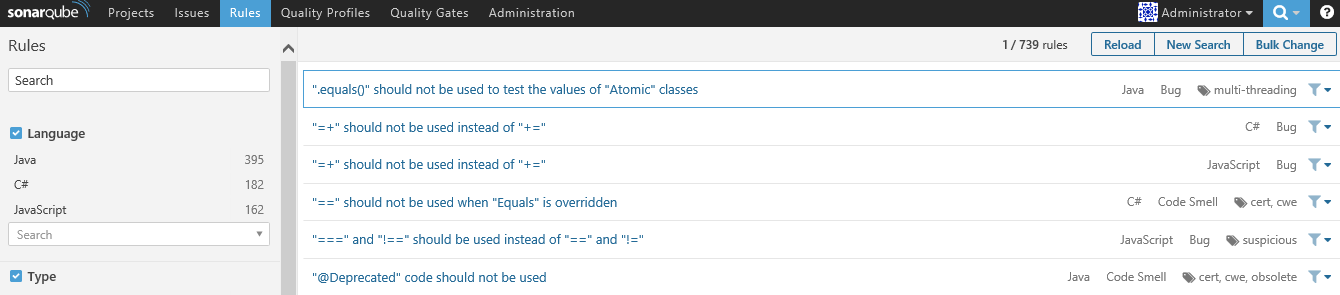
If the need arises, code quality rules can be enabled or disabled from the admin screen.
For more information on Integration with TFS, Active Directory, WebAPI – covered in Separate article.
I am sure that the above steps are quite easy and would allow you to configure SonarQube. Please feel free to drop in your queries/comments.

0 Comments